
Understanding Dental Crown Basics and Indications for Treatment
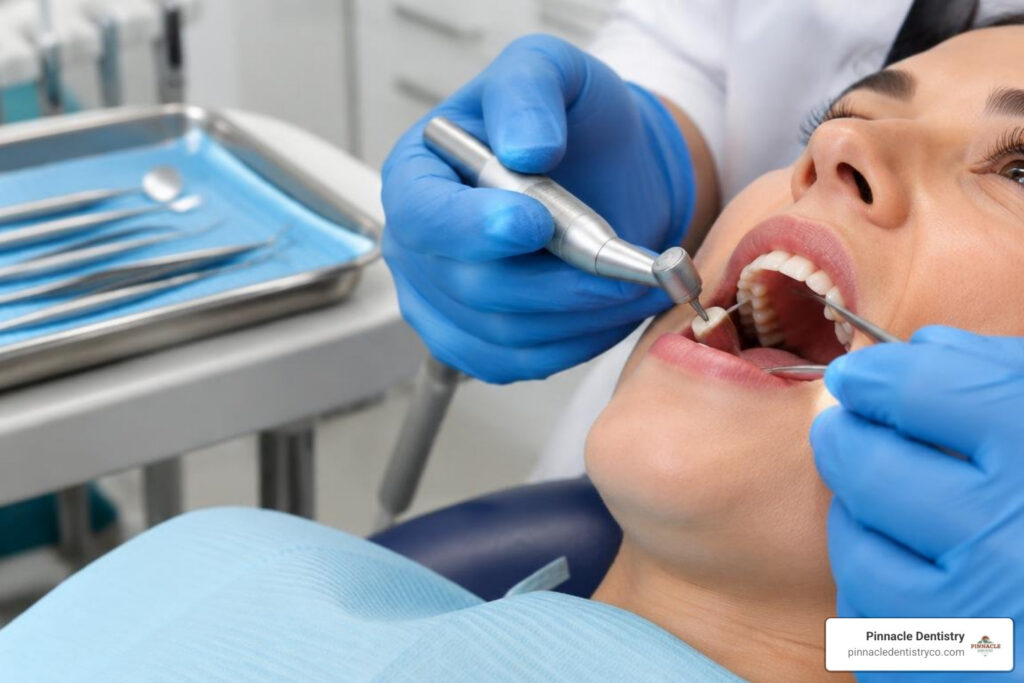
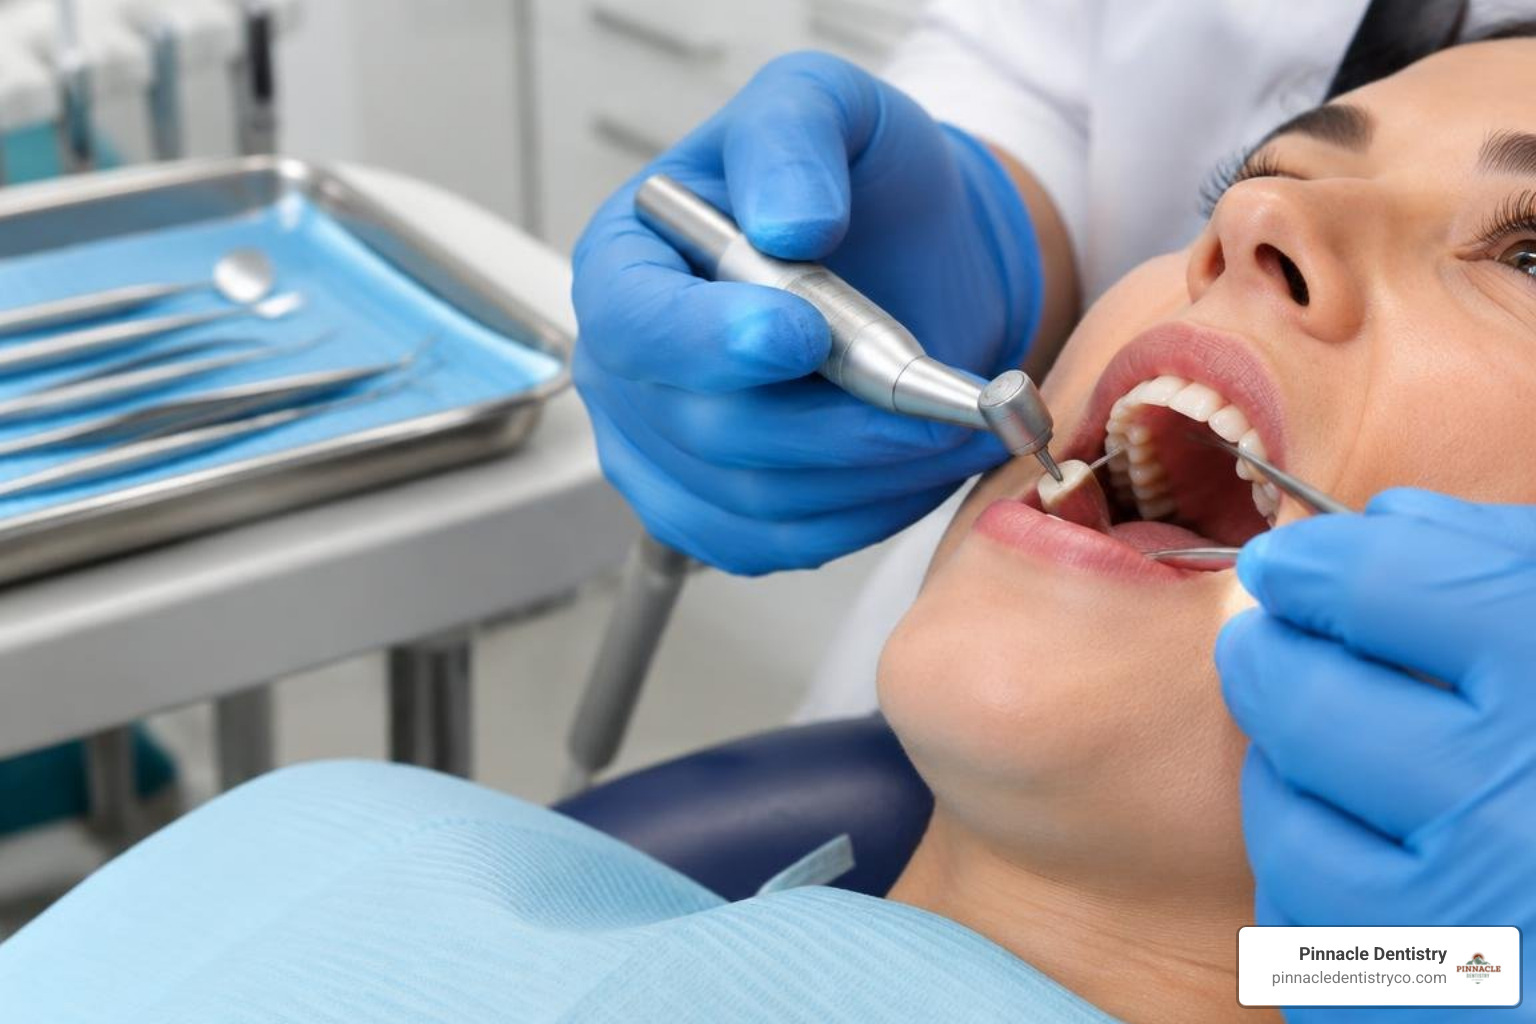
Preparing a tooth for a crown is a reshaping procedure. Your dentist numbs the area, removes decay or failing filling material, rebuilds weakened areas when necessary, shapes the tooth, records a scan or impression, and places a temporary crown. The goal is to create enough room for a strong restoration that looks natural and fits comfortably in your bite.
A custom dental crown restoration covers the visible portion of a damaged tooth. It may be recommended when a tooth has:
- Extensive decay or a large failing filling that leaves thin walls at risk of breaking.
- A crack or fracture that causes pain when biting or could spread further.
- Root canal treatment, especially on a back tooth that must handle heavy chewing forces.
- Severe wear or erosion from grinding or acid exposure.
- Significant cosmetic damage, such as discoloration or an irregular shape.
For a broader overview of restorative options, Pinnacle Dentistry’s dental services page explains how crowns fit into a personalized care plan.
Crowns are designed to restore function, not just appearance. The dentist considers the tooth’s remaining structure, its position in the mouth, gum health, the way your teeth meet, and whether you grind or clench. That assessment helps determine whether a crown is the most conservative long-term option or whether another treatment should be considered.
At the consultation, share any history of sensitivity, jaw pain, grinding, or prior problems with restorations. Those details help the dental team plan the preparation, choose a suitable crown material, and explain what to expect during healing. Asking questions before treatment can also make it easier to follow temporary-crown instructions once you leave the office.
A crown is not simply cemented over an untouched tooth. Without preparation, it could feel bulky, alter the bite, and make hygiene harder. The dentist removes only the enamel and dentin needed for the selected material while preserving healthy structure whenever possible.
Why Tooth Reduction Must Be Precise
The preparation needs enough clearance for the crown to resist normal biting forces, but excessive reduction can weaken the remaining tooth. The dentist also creates gently tapered walls that help the crown seat along one path and resist being pulled or twisted loose during function.
Core Buildup and Restorability Assessment
Before shaping begins, the dentist evaluates X-rays, gum health, the tooth’s nerve status, and the amount of solid tooth structure that remains. If decay or an old restoration leaves a hollowed tooth, a bonded core buildup can replace missing internal support.
The dentist also looks for a sufficient ferrule, a band of healthy tooth structure above the crown margin that helps resist fracture. When decay or a fracture extends too far below the gumline, additional treatment may be needed before a predictable crown can be placed.
The Step-by-Step Clinical Process of Preparing a Tooth for a Crown
After local anesthesia, the dentist uses fine diamond instruments with a steady water spray to shape the tooth safely and keep it cool. Although the appointment can sound technical, the process follows a consistent sequence:
- Create depth grooves and biting clearance so the crown has enough thickness.
- Bevel the load-bearing cusps on back teeth to support chewing forces.
- Reduce the outer walls with a slight taper that allows the crown to seat.
- Open the contacts carefully so the crown margin can be finished and cleaned.
- Smooth the margins and line angles to prevent stress points and help the final crown fit accurately.
The dentist checks the prepared tooth against the opposing teeth before moving on. If there is too little space, the final crown may be thin or the bite may feel high. If too much structure is removed, the tooth can become more sensitive or harder to restore. Careful measurements and conservative technique are important at each step.
Magnification, lighting, and digital measurement help the dentist evaluate the preparation from multiple angles. These clinical principles support a careful, consistent approach to crown preparation.
Occlusal and Axial Reduction Guidelines
The amount removed depends on the tooth and crown material. Back teeth usually need more room on the functional cusps, which bear the heaviest chewing load. Front teeth require careful reduction in more than one facial plane so the finished crown does not look too thick or flat.
As a general guide, functional cusps may need about 1.5 to 2.0 millimeters of clearance, nonfunctional cusps about 1.0 to 1.5 millimeters, and outer walls roughly 0.8 to 1.5 millimeters. Your dentist adjusts those dimensions for the chosen material, your bite, and the amount of healthy tooth available.
Margin Design and Placement
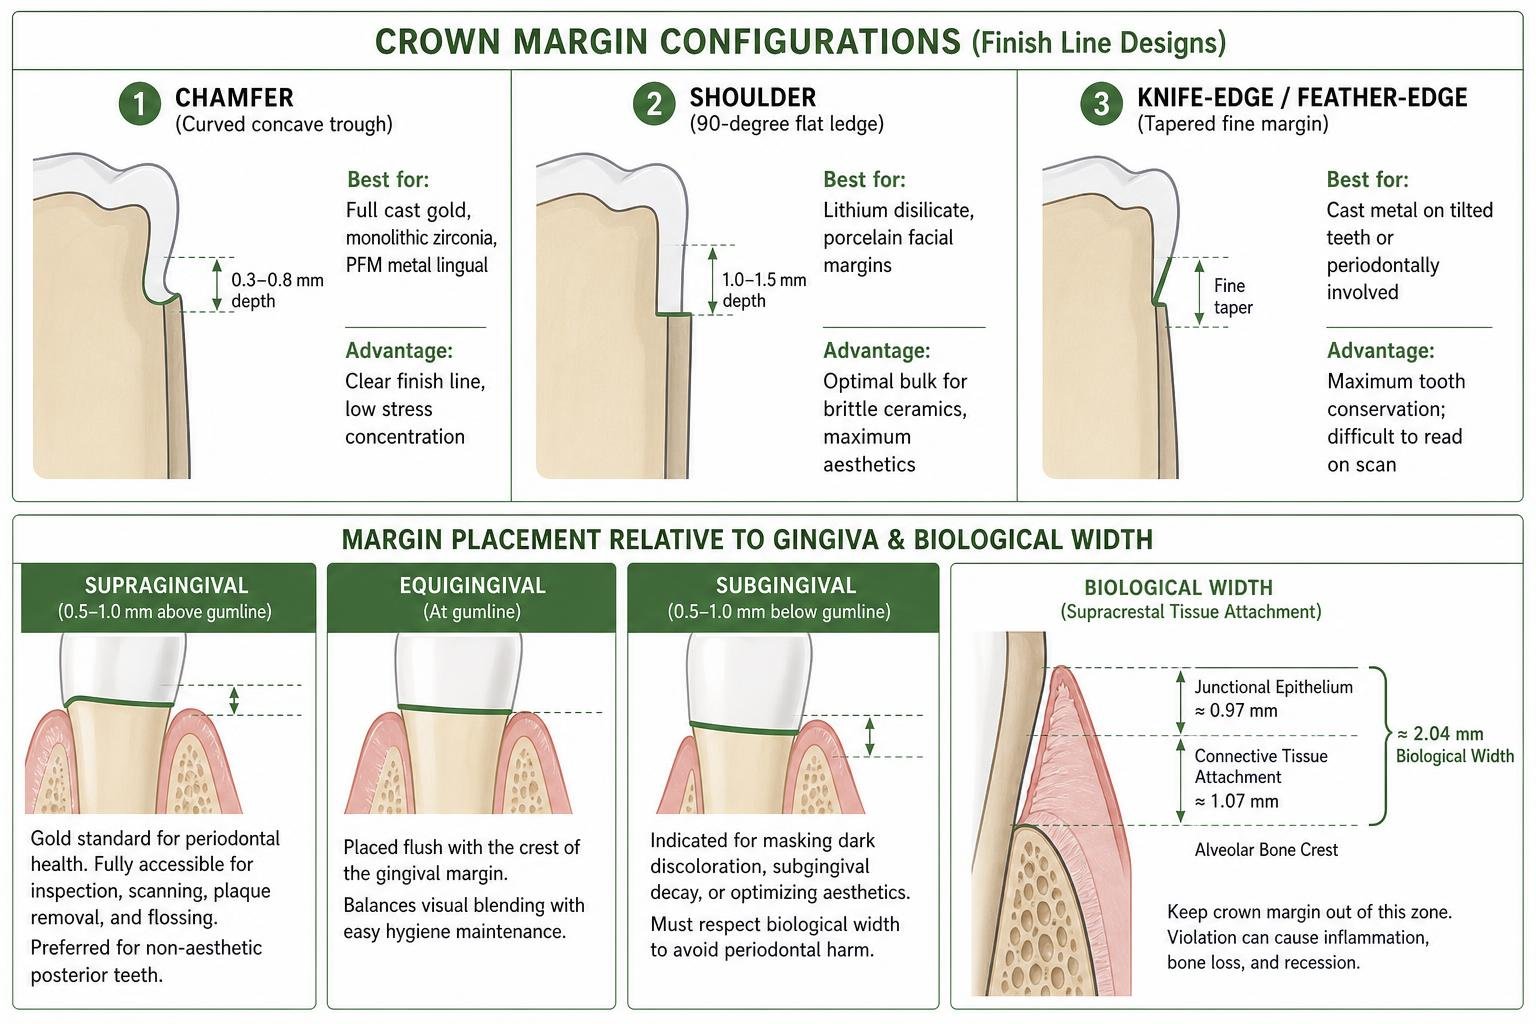
The margin is the edge where the crown meets the tooth. A rounded chamfer commonly works well for metal or zirconia restorations, while a rounded shoulder or deeper chamfer may provide support for more translucent ceramic options. Evidence on common preparation designs is summarized by Minyé et al..
Whenever possible, a margin above the gumline is easier to scan, clean, and monitor. A margin may extend slightly below the gumline when decay, discoloration, or appearance requires it, but the dentist must protect the tissues that attach the gum to the tooth.
Crown Materials and Their Impact on Tooth Reduction
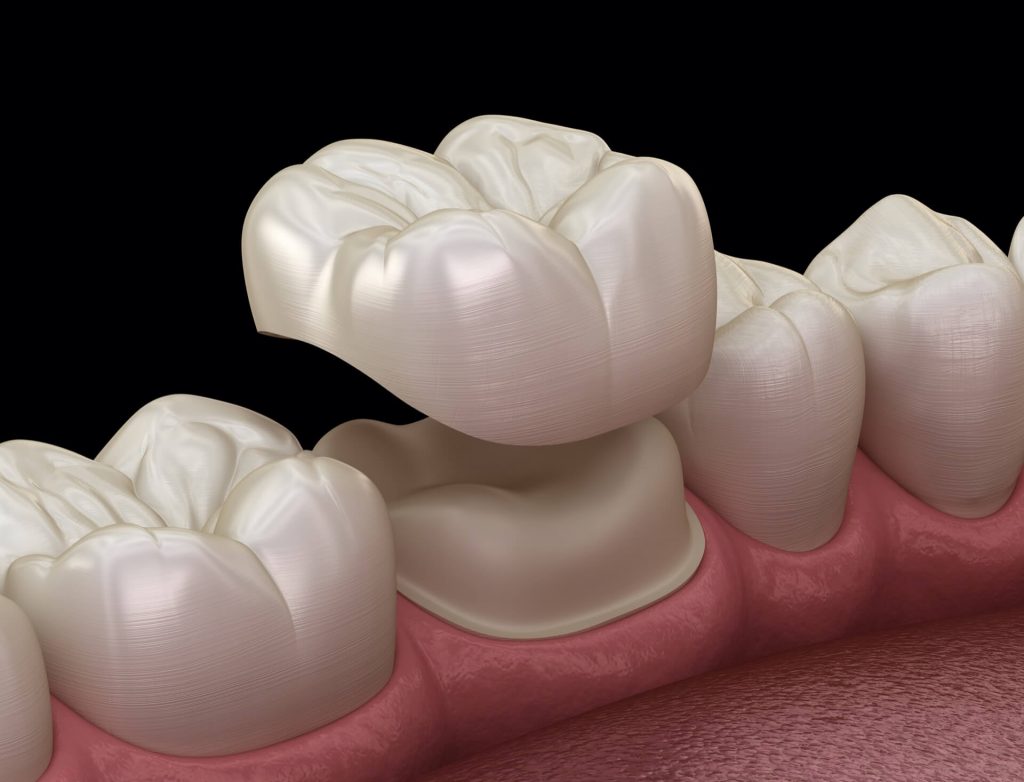
Crown material affects how much space the dentist must create. Stronger materials can often be used in thinner sections, while highly translucent ceramics usually need more uniform thickness for strength and appearance.
- Monolithic zirconia: Often allows conservative reduction and is commonly selected for strength in back teeth.
- Lithium disilicate: Provides a natural-looking ceramic option but typically needs more even clearance and a supportive margin.
- Porcelain fused to metal: Requires room for both the metal foundation and porcelain covering.
- Cast gold: Can be a conservative, durable option when appearance is less of a concern.
No material is automatically best for every person. A crown on a visible front tooth may prioritize color and translucency, while a molar crown may prioritize strength. People who clench or grind may need a material and design that can tolerate higher forces, along with a night guard when their dentist recommends one.
If you are comparing treatment timelines and restorative options, this guide to the dental crowns procedure offers additional patient-focused context.
The right choice depends on the tooth’s location, your bite, color goals, grinding habits, and remaining tooth structure. Your dentist will recommend a material that balances appearance, durability, and preservation of healthy enamel.
Anterior vs. Posterior Tooth Preparation
Front teeth need careful attention to facial contours, incisal-edge position, and light transmission. The dentist reduces the tooth in separate planes so the crown can look natural without appearing overbuilt.
Back teeth must manage stronger chewing forces. Their cusps and grooves guide where clearance is created, rather than simply flattening the biting surface. This helps the final crown maintain a comfortable bite and adequate material thickness.
Managing Comfort During Crown Preparation
Crown preparation is performed with local anesthesia, so you should not feel sharp pain. You may notice vibration, water, and pressure. Mild gum tenderness or temperature sensitivity afterward can occur, especially around a temporary crown. Contact your dentist if pain is severe, persistent, spontaneous, or accompanied by swelling.
Impressions, Provisionalization, and Final Crown Placement
Once the tooth is shaped, the dentist must capture its form and protect it while the final crown is made. The gum tissue may be gently moved aside with retraction material so the finish line can be recorded clearly.
The scan or impression is only one part of the record. The dentist also records the surrounding teeth, bite relationship, shade information when needed, and other details that allow the laboratory or in-office system to make a crown that fits the prepared tooth and blends with your smile.
Before you leave, the dentist checks the temporary crown and your bite. Tell the team if the temporary feels high, catches when you close, or has a rough edge. Small adjustments at the appointment can improve comfort and reduce the chance of putting too much pressure on the temporary or the opposing tooth.
Digital Scans vs. Traditional Impressions
Many practices use an intraoral scanner to create a three-dimensional digital model of the prepared tooth, nearby teeth, and bite. Digital scans can improve comfort and let the dentist review the result immediately. Traditional impressions with elastomeric material can also be highly accurate when they are properly taken and handled.
Caring for the Temporary Crown and Prepared Tooth
If your final crown is not made the same day, the dentist places a temporary crown with temporary cement. It protects sensitive dentin, keeps nearby teeth from shifting, supports gum shape, and restores basic appearance and chewing function.
If you notice a chipped tooth or new rough edge before your final restoration is placed, guidance on fixing a chipped tooth can help you understand when prompt dental care is appropriate.
Temporary crowns are intended for short-term use, so treat them gently. Avoid sticky foods, hard foods, and chewing gum on that side. Brush gently, and slide floss out through the side of the contact rather than lifting it straight up, which can loosen the temporary. Call the office promptly if the temporary comes off, cracks, feels too high, or causes worsening pain.
Frequently Asked Questions About Dental Crown Preparation
Does preparing a tooth for a crown hurt?
No. Local anesthesia prevents sharp pain, though you may feel pressure, vibration, and water. Let your dentist know if you feel pain so they can make you more comfortable.
How long does a crown preparation appointment take?
Most visits take about 60 to 90 minutes, depending on decay removal, a buildup, and the type of scan or impression needed. More complex teeth can require additional time.
How much tooth structure is removed?
It varies by material and tooth location, but reduction is usually measured in fractions of a millimeter to about 2 millimeters. The dentist removes only what is needed for fit and strength.
Can I get a crown without a root canal?
Yes. Most crowns are placed on healthy, living teeth. A root canal is only needed when the nerve is severely damaged or infected.
What is the difference between a chamfer and a shoulder margin?
A chamfer is a rounded groove-like edge. A shoulder is a wider, flatter ledge that can provide added support for ceramic material.
What if my temporary crown falls off?
Call your dental office as soon as possible. The tooth should be protected and the temporary replaced or recemented when appropriate. Do not use household glue.
Why is water sprayed during the procedure?
Water cools the tooth and instrument, reduces heat, and clears away debris during shaping. This helps protect the tooth during the preparation.
How is a margin scanned below the gumline?
The dentist uses gentle tissue-management techniques to temporarily expose a dry, visible margin before scanning or taking an impression.
When can I eat after the appointment?
Wait until numbness is gone, then choose softer foods and avoid sticky or hard foods on the temporary crown. Chew on the opposite side when possible.
What symptoms should prompt a call to the dentist?
Call for severe or worsening pain, swelling, a loose temporary, persistent bleeding, or a bite that feels uneven. Early attention can prevent a small problem from becoming more complicated.
Conclusion
Careful crown preparation protects a weakened tooth while making room for a strong, natural-looking restoration. If you have a cracked, worn, or heavily restored tooth, Pinnacle Dentistry in Colorado Springs, CO, can help. contact our dental crown specialists to discuss your restorative options and receive guidance tailored to your oral health needs. A timely evaluation can help protect your tooth.
References
Minyé HM, et al. Preparation Techniques Used to Make Single-Unit Crowns. The Journal of Prosthodontics, 2018. PMCID PMC6283672.